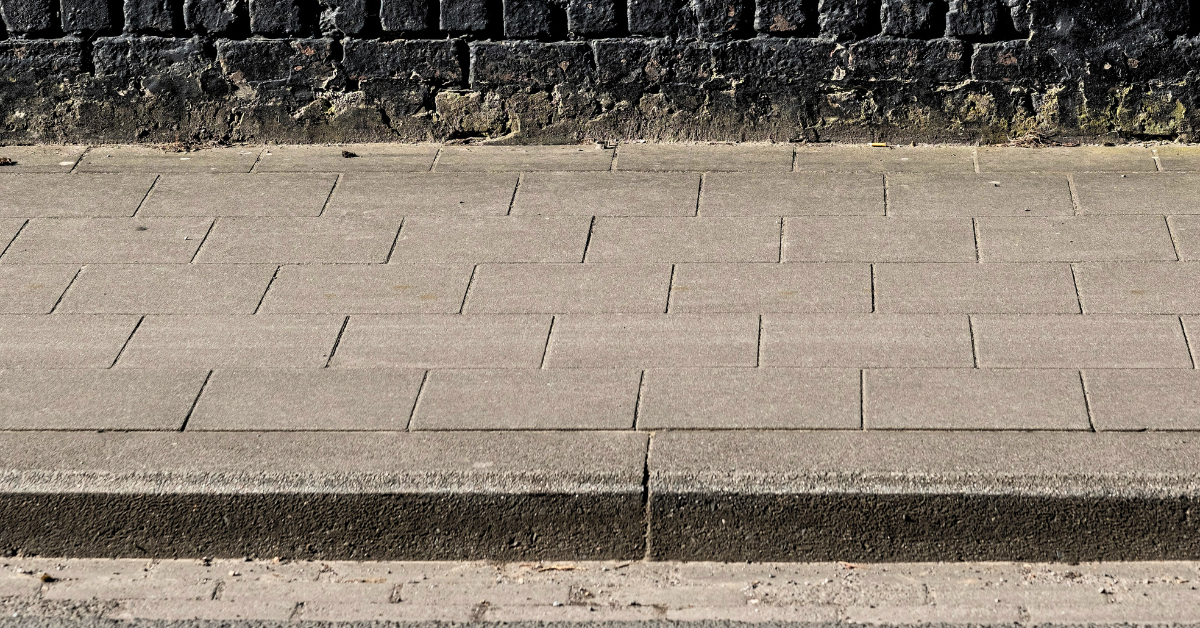
When dealing with a Highway Tripping claim, photographs are one of the most essential pieces of evidence you can provide. Good pictures can massively help your solicitor achieve the best result possible for you, and help you get the justice you deserve.
Here is some crucial tips to getting good pictures, and the best result possible:
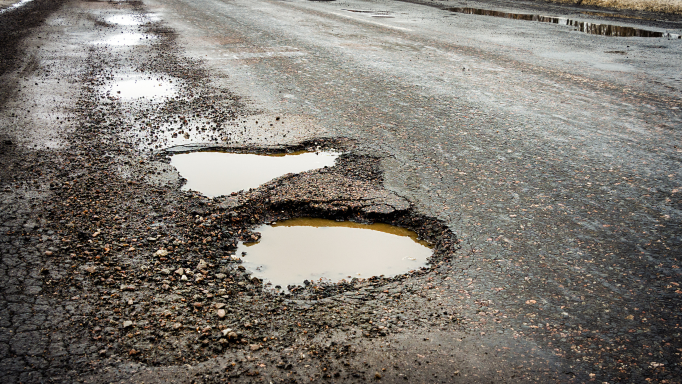
- Take a range of photos, showing different angles. A few “worm’s eye view” photos always help to show the full extent of the “defect“. After this, take some progressively “wider” shots to show the defect in the full context of the wider area, and get the pedestrian’s point of view.
- Always make a note of when any photographs are taken, and who took them.
- If you ask someone else to take the pictures on your behalf, you will need to explain how the photographer knew where to look, and confirmation that you agree the photos are accurate.
- At least a couple of the close-up photos must have some sort of measure on them. This helps demonstrate just how big/deep the defect is. Ideally, they should use a ruler and be taken at a low level, so you can see where the top of the defect is against the measuring device.
- If the hole is filled with rainwater, you should ideally wait until it has dried up before taking photos. Otherwise, it won’t be easy to see the full extent of the defect or it’s measurements.
If you do not have a ruler, an everyday object can be used as long as the size is easily identifiable. For example, avoid using a phone or a pen leaned up against the defect, because they can be many different shapes and sizes.
A coin is a good option, because coins of the same denomination are always the same size. This means that anyone can, for example, measure a 10p piece and know its size – without needing the actual coin that was used in the photo. However, the coin should be shown tails-side out so that the coin is easily identifiable. A 20p or 50p can look very similar – so we need to be certain.
- Always take some wider shots of the road with easily identifiable nearby landmarks such as a drain cover, road sign, or tree. This helps to remove any possible doubts about the location. Make sure to make a written note of these! For example; “Here, the defect (the drain cover) is visible with a clear point of reference (the road sign).”
- Make sure you confirm (a) which direction you were walking (a simple arrow is fine) and (b) the precise point of the trip – ‘x’ marks the spot!
- When sending your photos to your solicitor, please do not send photos of other defects on the same road or in the same area. Regardless of how bad the rest of the street might be – photos of other defects do not make a difference to the case, and can risk confusing matters. Only focus on the specific defect that caused the accident.
- Finally, if you cannot provide all of the detail requested here, that is fine. It is still worth taking as many photos as you possibly can, and providing as much detail as you possibly can. Remember, the more evidence you can provide – your faster your claim can progress and the better your chances of success.
– Neil Kerns, Head of ELPL and Partner at Pabla & Pabla Solicitors